
How to design a brilliant photo album
Read on for my TOP 5 hacks on how to create and design an heirloom quality photo album…
I’ve had so many questions about how to create photo albums in the past few weeks and so I wanted to put together my top 5 hacks that you can start implementing right away… The important thing to remember before diving into or implementing any of these is to set aside enough time, so you can be really focused and also enjoy looking through your memories!
More than just a photo album, a thoughtful, curated and made with love photo book is full of your favourite treasured memories – these are the memories that need to be printed and cherished. Photo albums help us feel connected and give us a sense of belonging. They will stand the test of time and will be passed down through generations.
In this article, you will find a list of my top tips for you to create a fantastic photo album or photo book. This list is a great way to get organised with your photo libraries and get your photographs off your phones and into a physical and beautiful book to hold and cherish.
This is written primarily for parents, grandparents and couples looking to print their memories, but there is information here that would be useful for any business owner too – perhaps you want to create an album of your first year in business!
ORGANISATION.
The first step is to get organised. Most people tell me that they have their photographs in various places, their phone, their partner’s phone, email attachments, WhatsApp chats, dropbox, google drive – the list goes on! Decide where you are going to save your photographs (the ones that mean a lot to you) from now on. I recommend a minimum of one cloud-based server and one physical hard drive.
IMAGE SIZE.
When saving photographs from Facebook or messages, make sure you are saving the original file, ask the sender to send the photograph to you in the original size via an email attachment. For printing photographs, this is especially important. Most print labs recommend the file size to be a minimum of 1 megabyte per photograph, if you are printing photographs from your phone, this is especially important to check prior to printing. There are many tricks to saving a low-resolution photograph as a larger file size using photoshop, contact me if you need help with this.
FILING.
How are you going to file your photographs so you know exactly where to find them in the future? I organise my hard drive folders by year, month, event and date. The event and date folder will have three folders inside which will include my ‘raw’ files and my ‘edit’ as well as my chosen images for blogging and social media. If you are looking to organise your personal photographs, you won’t need to include the final subfolders, but it does help to have a ‘best of’ or ‘favourites’ so you can quickly look back if needed.

CURATION.
Remember I said how having a ‘best of’ or ‘favourites’ folder will help you save time in the future? Now is that moment. If you’re planning a large photo album, for instance, to celebrate your child’s first birthday or a parents birthday, you will need to select photographs from a variety of folders. Having organised and filed your photographs efficiently, you will be able to save time when choosing photographs for your album.
How to curate: When curating your photographs i.e. choosing your favourites, you should try to include a variety of images. To achieve balance, you need to stay away from the same pose or location. Think about the classic who what where and why storytelling tip. Who are the people in the photograph, are they special to you? What are you trying to say with the photographs, are they of a special milestone moment? Where did that moment take place, have you got a photograph of the location? And finally, why? Why are you using this photograph? Does it make you laugh? Smile? Cry happy tears? Does it bring back brilliant memories you don’t want to forget?
YOUR PROJECT.
I recommend that whilst you’re in your ‘curation’ stage, you save your selected images to one specific folder. You could name it ‘Baby’s first year’ or ‘Grandads 90th Birthday Album’, or whatever your album is showcasing. Keep it saved in a safe place and copy photographs to this folder every time you make your way through your images.
TOP TIP: Are you reading this guide thinking you’ll make an album in the future? Perhaps in a few months or next year for a special occasion? Well, you have time on your hands! Start curating your images now. Every time you take some photographs, choose your favourites and add them to your newly created photo album folder. This will save you time when you come to making your project.
CHOOSING A PHOTO LAB OR PHOTO BOOKMAKER.
Once you have a folder of images which you are happy with, you are ready to choose the printing company. There are a variety of factors which influence where I order my prints and photo albums from. For instance, for my wedding couples, I choose to use a professional printing lab theprintspace and for albums, I either use Rosemood or Artifact Uprising: these companies offer bespoke, fine art, archival and most importantly responsibly sourced paper of the finest quality. For more of an everyday album, I would choose Papier or Photobox – Photobox also has an app which can be really helpful if you only have a mobile phone to design an album from. For entirely tailor-made and unique projects, I use the London Book Binding company.
TOP TIP: Make sure to check whether the company you choose posts to your country before you start your project! Where is the company based in relation to you? Are you happy to pay the postage and customs charges if the company isn’t based in your country? I have made the mistake of designing an album only to find the postage cost more than the book and had to start again! My suggestions for printing companies are based across the world, I choose the company often depending on where the album will be ending its journey and which lucky clients doorstep it will be landing on.
THE FUN PART.
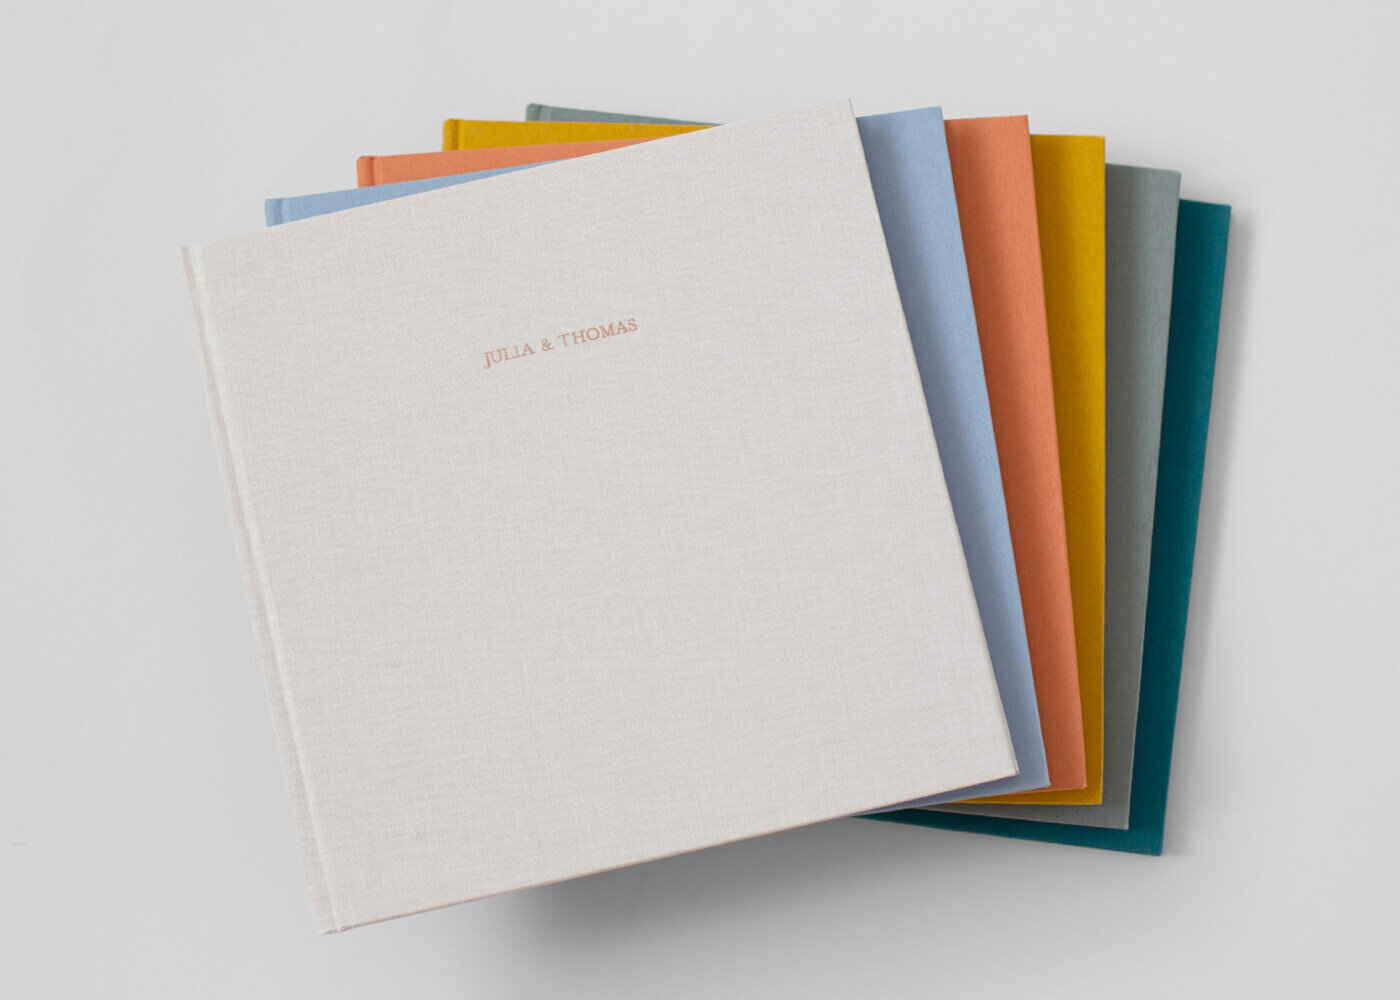
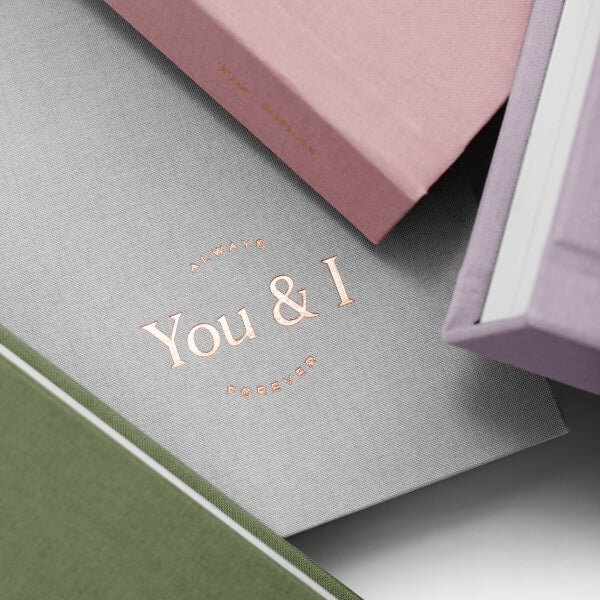
So, you’ve got your photographs ready to go, they are the highest quality you can find, they are curated to a folder easily accessible and you are ready to upload to your chosen printing lab, book or album company (most companies nowadays have an online portal). You need to make a decision on your cover colour, material and thickness. Will the front cover have a title? Do you want it to be a hardcover or soft? Will the title of the book be embossed in foil lettering?
Once you have uploaded your folder of images to your bookmaker’s website, you can start adding the photographs to the album. Some companies offer pre-made layouts, but for the most unique album, you will want to arrange the photographs to tell your story the best. This will mean arranging photographs to showcase your individual story. Perhaps you want to add text to explain dates, names or locations. The more you plan ahead, the less re-arranging you will need to do.

PREVIEW.
When you have finished designing your book or album, make sure to preview your work. This will be the last chance you get to edit your project before it is sent off to be printed.
PAY & WAIT.
And that’s it! Simple as that… Pay online and wait for your book to be posted to you. It is such an exciting time opening a photo album, book or prints – to me, there is nothing better! Congratulations on creating your photo album.
“I don’t have the time for this!”

Comment Below